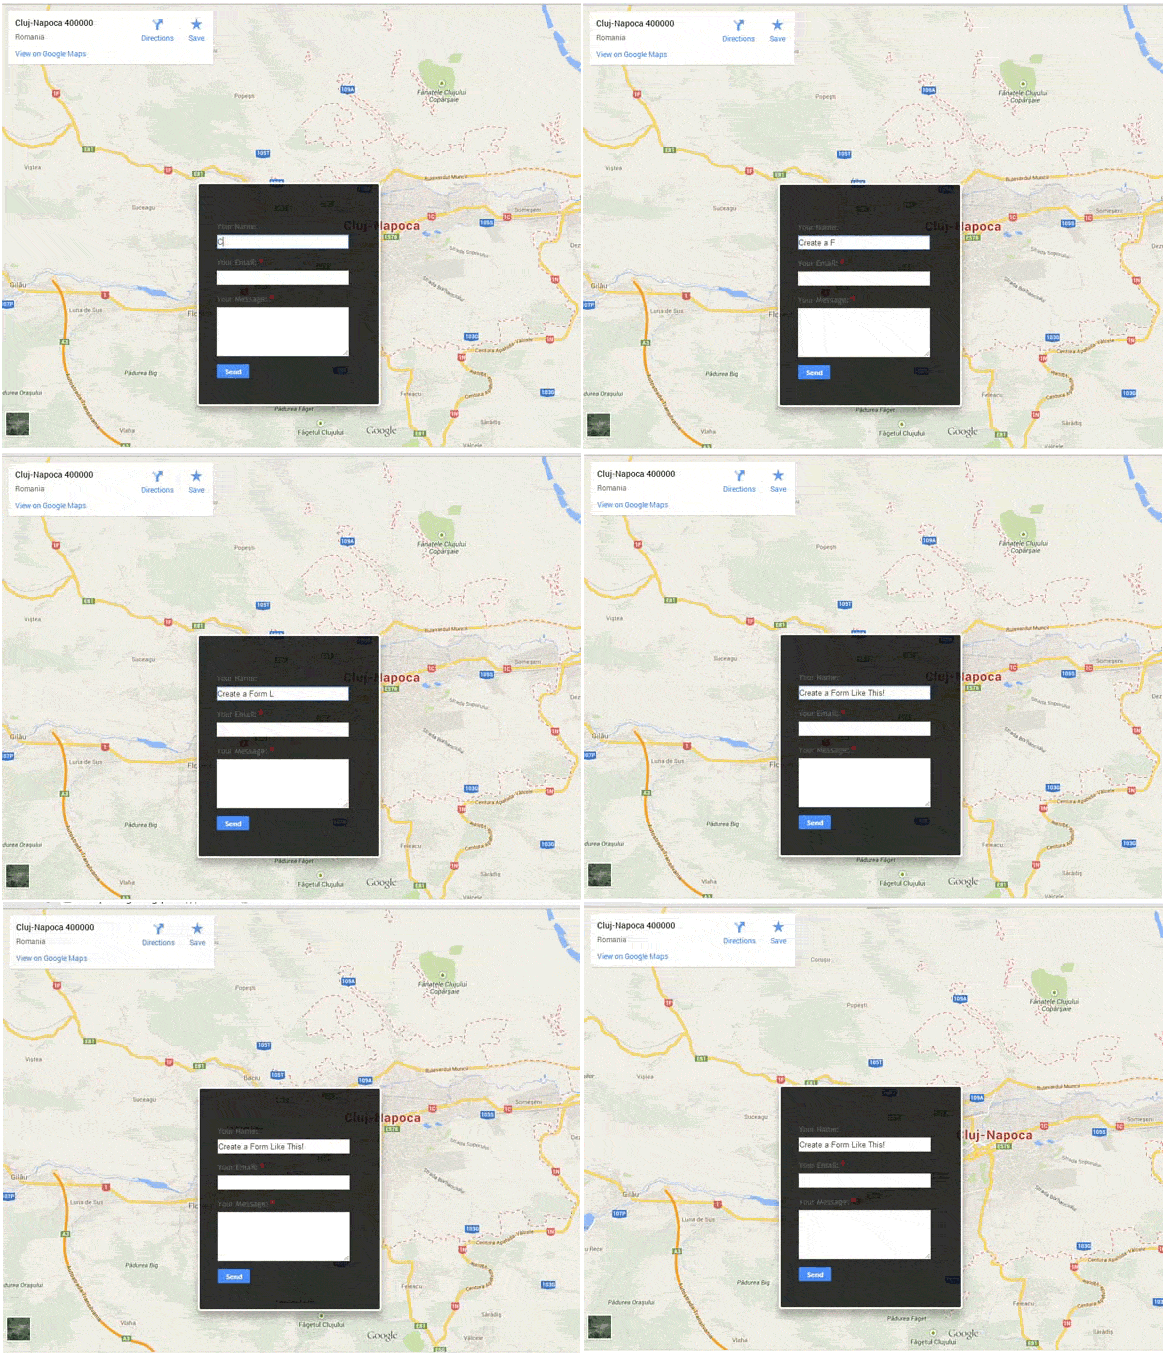
Creating a Contact Us form on a Blogger Blog is quite simple. Let's see How to use Google Maps as a Background Live on Contact Us or Any other Standalone Page.
Click Here for Demo
With this, you can actually have a live map behind your form. You can zoom in and out as you do on Google maps normally. Using CSS codes and normal Div codes in pages enables usage of Maps on the pages. Form created above has a higher z-index than the background maps and hence it appears on the front.

Follow these Steps:
Hope your blogger already have standalone pages like Contact Us or About Us
Insert below iframe at the top of your page in HTML view.
Note: You can edit the iframe by visiting Google Maps as per your required location, It is easier than it looks. Just Copy src="https:// ***** =embed" from the new HTML code of your location from maps. Get your own location codes, Click to open an image in new window.
<!-- Code have been modified so that Gmap Autofit the screen -->
<iframe id="gmap" src="https://maps.google.com/maps?f=q&source=s_q&hl=en-GB&geocode=&q=marine+lines+mumbai+india&aq=&sll=18.9399,72.828283&sspn=0.055124,0.077162&gl=US&ie=UTF8&hq=&hnear=&ll=18.945725,72.822297&spn=0.006295,0.006295&t=m&output=embed" frameborder="0" marginwidth="0" marginheight="0" scrolling="no" width="425" height="350"></iframe>
<div id="container"><div dir="ltr" style="text-align: left;" trbidi="on">
<br /></div>
<form name="contact-form">
<p></p>
Your Name:<br />
<input class="contact-form-name" id="ContactForm1_contact-form-name" name="name" size="30" value="" type="text" />
<p></p>
Your Email:
<span style="font-weight: bolder;color:red;">*</span><br />
<input class="contact-form-email" id="ContactForm1_contact-form-email" name="email" size="30" value="" type="text" />
<p></p>
Your Message: <span style="font-weight: bolder;color:red;">*</span><br />
<textarea class="contact-form-email-message" id="ContactForm1_contact-form-email-message" name="email-message" cols="25" rows="5"></textarea>
<p></p>
<input class="contact-form-button contact-form-button-submit" id="ContactForm1_contact-form-submit" value="Send" type="button" />
<p></p>
<div style="text-align: center; max-width: 222px; width: 100%">
<p class="contact-form-error-message" id="ContactForm1_contact-form-error-message"></p>
<p class="contact-form-success-message" id="ContactForm1_contact-form-success-message"></p>
</div>
</form></div>
As an Example a Container is added for Form, you can use your own Container to have Different Forms or layers on top such as Texts.
Now Go to Dashboard > Template > Customise > Advanced > Add CSS
Add below CSS for Google Maps customization, such as full screen, Auto Fit.
Click Here for Demo
With this, you can actually have a live map behind your form. You can zoom in and out as you do on Google maps normally. Using CSS codes and normal Div codes in pages enables usage of Maps on the pages. Form created above has a higher z-index than the background maps and hence it appears on the front.

Follow these Steps:
Hope your blogger already have standalone pages like Contact Us or About Us
Insert below iframe at the top of your page in HTML view.
Note: You can edit the iframe by visiting Google Maps as per your required location, It is easier than it looks. Just Copy src="https:// ***** =embed" from the new HTML code of your location from maps. Get your own location codes, Click to open an image in new window.
<!-- Code have been modified so that Gmap Autofit the screen -->
<iframe id="gmap" src="https://maps.google.com/maps?f=q&source=s_q&hl=en-GB&geocode=&q=marine+lines+mumbai+india&aq=&sll=18.9399,72.828283&sspn=0.055124,0.077162&gl=US&ie=UTF8&hq=&hnear=&ll=18.945725,72.822297&spn=0.006295,0.006295&t=m&output=embed" frameborder="0" marginwidth="0" marginheight="0" scrolling="no" width="425" height="350"></iframe>
<div id="container"><div dir="ltr" style="text-align: left;" trbidi="on">
<br /></div>
<form name="contact-form">
<p></p>
Your Name:<br />
<input class="contact-form-name" id="ContactForm1_contact-form-name" name="name" size="30" value="" type="text" />
<p></p>
Your Email:
<span style="font-weight: bolder;color:red;">*</span><br />
<input class="contact-form-email" id="ContactForm1_contact-form-email" name="email" size="30" value="" type="text" />
<p></p>
Your Message: <span style="font-weight: bolder;color:red;">*</span><br />
<textarea class="contact-form-email-message" id="ContactForm1_contact-form-email-message" name="email-message" cols="25" rows="5"></textarea>
<p></p>
<input class="contact-form-button contact-form-button-submit" id="ContactForm1_contact-form-submit" value="Send" type="button" />
<p></p>
<div style="text-align: center; max-width: 222px; width: 100%">
<p class="contact-form-error-message" id="ContactForm1_contact-form-error-message"></p>
<p class="contact-form-success-message" id="ContactForm1_contact-form-success-message"></p>
</div>
</form></div>
As an Example a Container is added for Form, you can use your own Container to have Different Forms or layers on top such as Texts.
Now Go to Dashboard > Template > Customise > Advanced > Add CSS
Add below CSS for Google Maps customization, such as full screen, Auto Fit.
body,
html{
height: 100%;
width: 100%; } /* To Autofit Screen */

#gmap{
height: 100%;
left: 0;
position: fixed !important;
top: 0;
width: 100%;
z-index: 1; } /* One increment smaller than the z-index of container */

#container{
background: rgba(0, 0, 0, 0.8);
border-radius: 20px;
border: 3px solid #fff;
box-shadow: 0 10px 20px rgba(0, 0, 0, 0.3);
margin: 0 auto;
overflow: visible !important;
padding: 40px;
position: relative;
top: 100px;
width: 800px;
z-index: 2; } /* One increment larger than the Google Maps z-index of iframe */
See the interactive use of Google Maps. Thats Done! You Can also use Google Maps API instead of embed code and jQueries available online here. E.g. bythegram.ca The codes are workable due to the z-index property of CSS form which enables Maps to stay behind the Form. You Can surely modify the Form for colors, sizes and transparency levels.


